
A photo record tells the story before a dispute starts
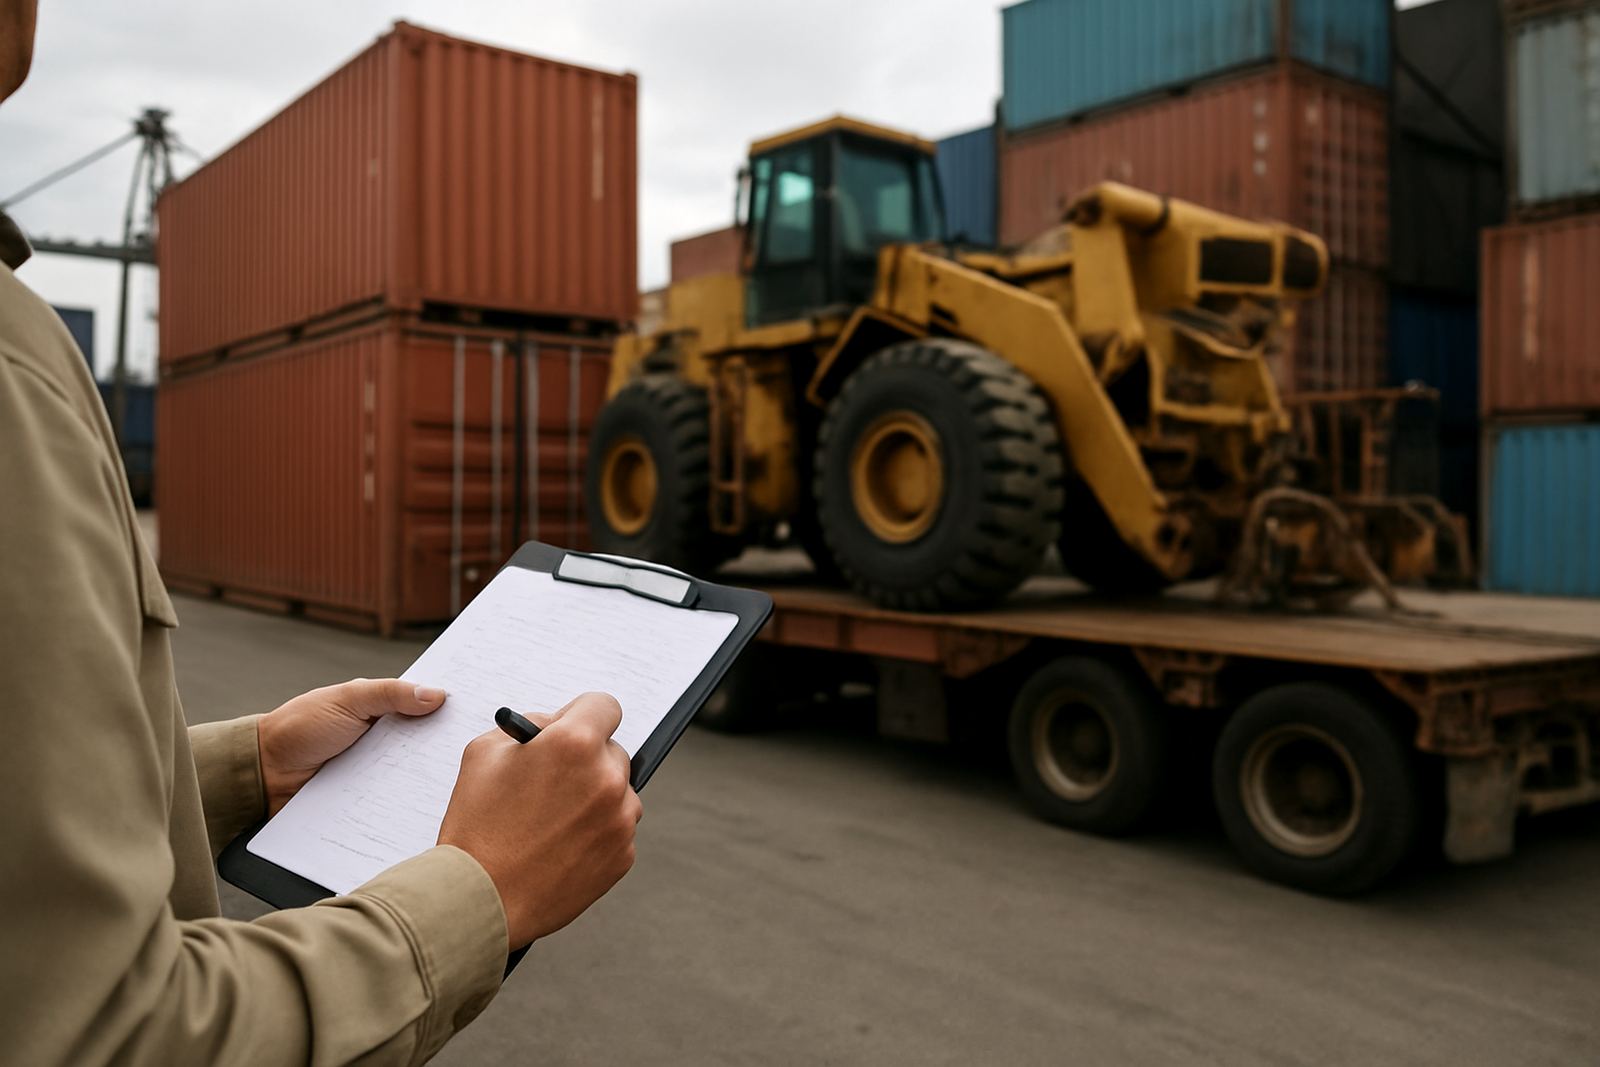
When machinery arrives at the harbour, a depot or a client site, the first question is simple: what condition was it in when it changed hands? Inspection photos answer that before memories get blurry. A proper set of images gives your team, the clearing agent, the transporter and the insurer a common reference point. If a hydraulic hose is split, a fork tine is bent, or the control panel has salt marks from coastal handling, the picture shows it plainly.
In the Durban harbour corridor, where cargo may sit in humid conditions or move through busy staging yards, small marks can become big arguments later. Photos taken at offload, during customs release, and again at final delivery create a timeline that helps everyone work from facts, not guesswork. That matters whether the machine is headed to Umbilo, Springfield Park, Jet Park or Paarden Eiland.
A good image set also helps when the cargo passes through different hands. The shipping line sees one stage, clearing sees another, and the transport crew sees a third. If each stage is documented well, the chain of custody is easier to prove and the release process is less likely to stall over missing detail.
What to capture on every machinery inspection
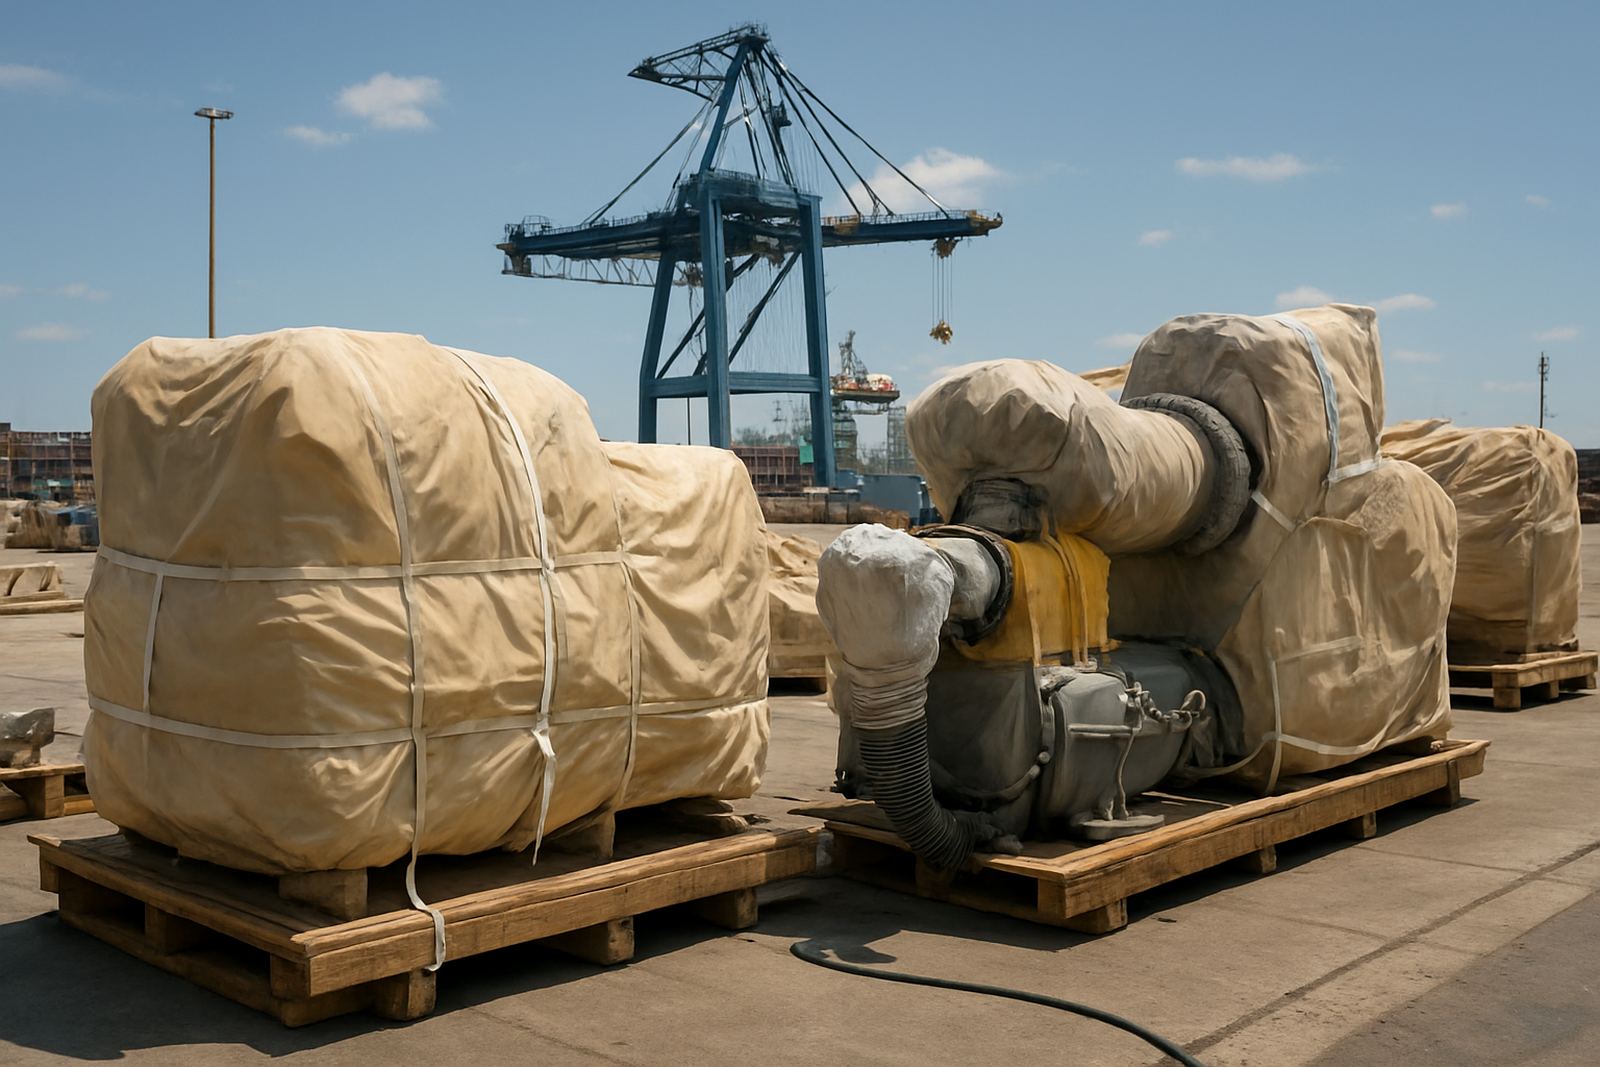
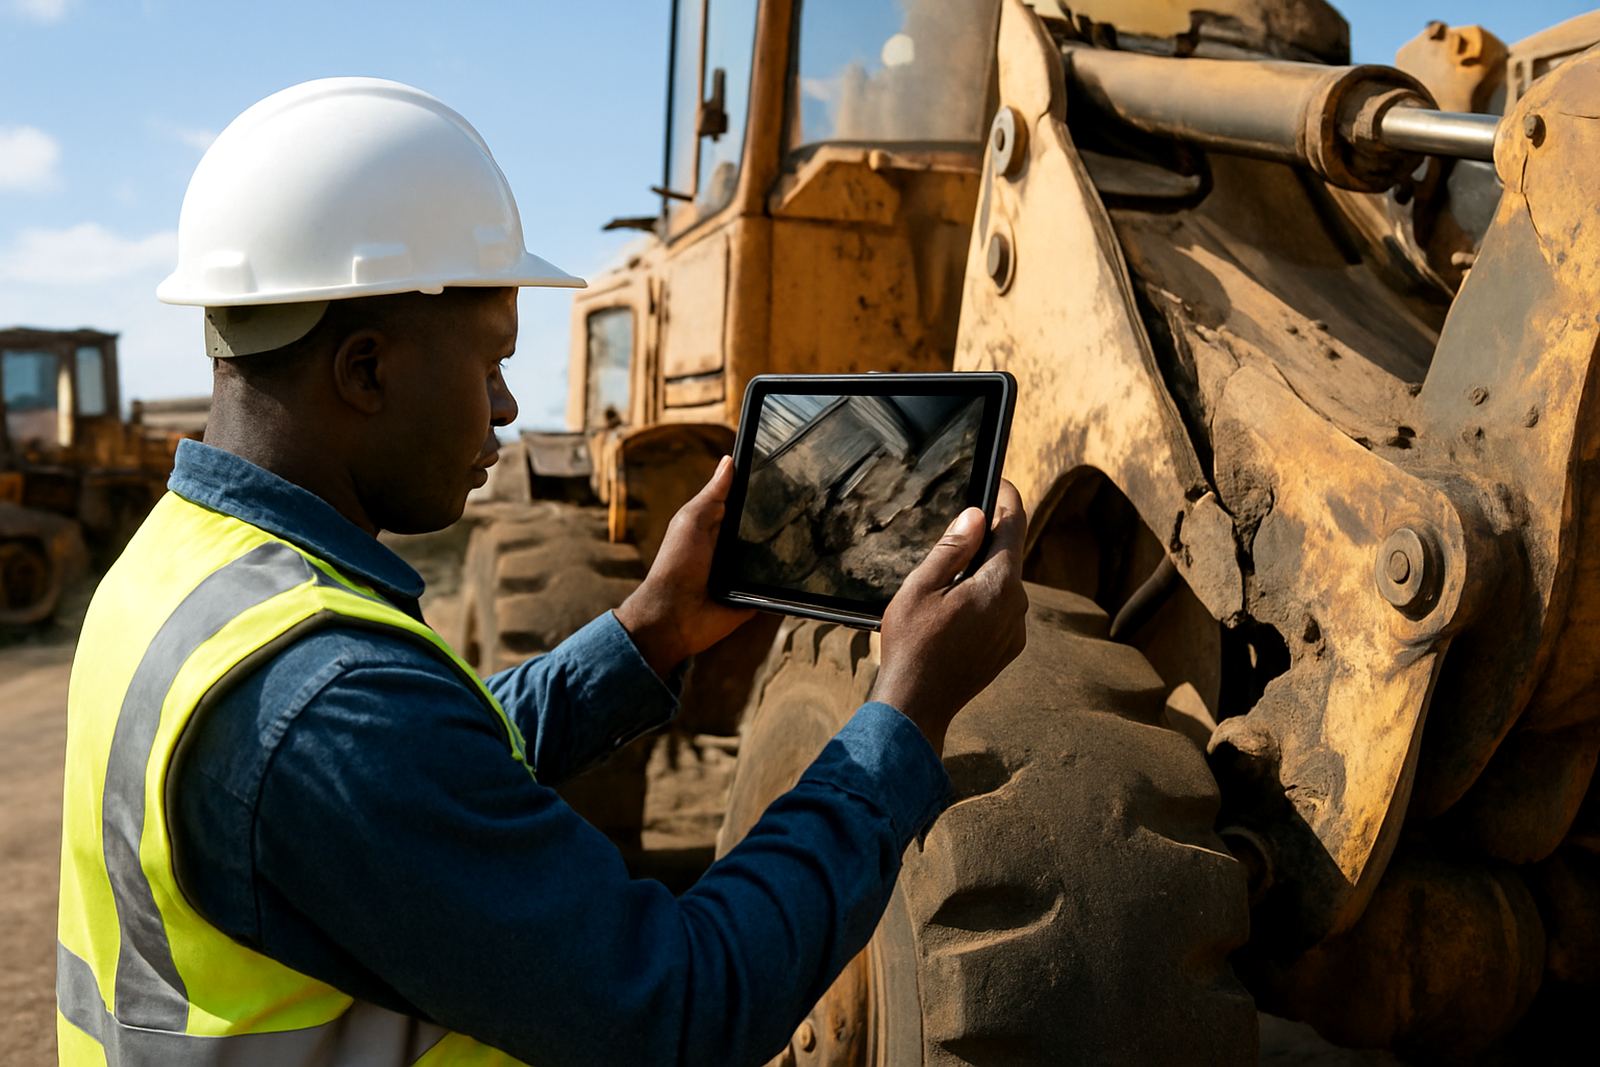
Not every photo is useful. A blurred close-up of a tyre is not enough if the transport issue was a cracked frame rail. The goal is to show identity, condition and context. That means the full machine first, then the parts that are most likely to be disputed. If the unit has been crated or lashed, photograph the packaging and the tie-down points too.
- Overall front, back, left and right views
- Serial number plates and model identifiers
- Forks, booms, buckets, blades or other attachments
- Tyres, tracks, rims and undercarriage
- Hydraulic lines, seals, cylinders and visible fluid leaks
- Control panels, metres, warning lights and emergency stops
- Rust, dents, broken guards, missing caps or loose fittings
- Loading method, straps, chains and trailer position
Take photos in daylight where possible. At the port or in a warehouse with poor lighting, use a torch and stand still long enough for the image to settle. A quick snap in a dark corner near the quay often hides the very damage you may need later. It also helps to include something for scale, like a person standing beside the machine or a marked pallet, so the size is clear.
Why claims fail when the first record is poor
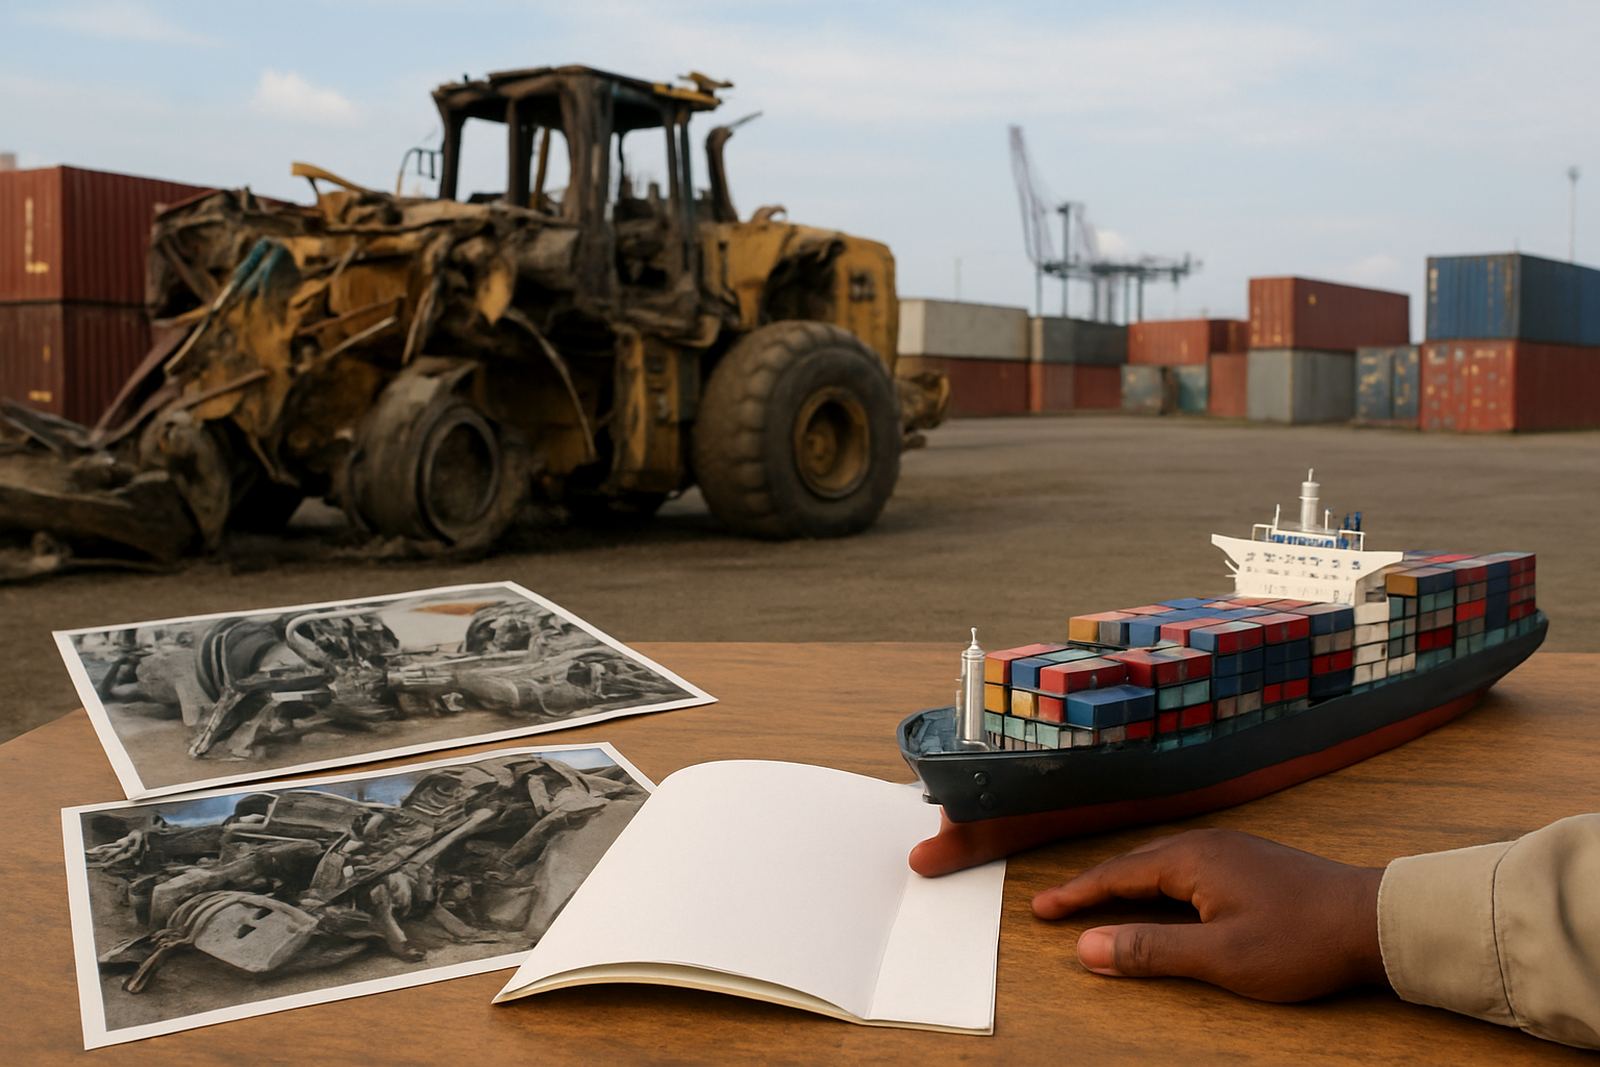
Insurance claims and carrier claims usually fail on one of two points: no proof of condition, or no proof of timing. If a machine arrives with a dented guard but there is no image from collection or discharge, nobody can say when it happened. That weakens the claim and slows payment.
Good photo records reduce this risk. They show whether a unit left the exporter yard with a nick in the panel, whether damage happened during port handling, or whether the issue only appeared at site offloading. In practice, that can save days of back-and-forth between the importer, the clearing team and the insurer. It also helps when a client wants to hold a transporter responsible for cargo securing, because the before-and-after record is there.
For machinery moving on long inland routes, especially from Durban to Gauteng, photos are useful at each handover point. A tractor-loader may look fine at collection but arrive with vibration damage after a rough trip or poor strapping. If the release note, loading photos and delivery images are all in one file set, the cause is easier to pin down and the discussion stays factual.
Release verification at the port needs more than a signature
When cargo is cleared for release, the paperwork says the goods may move. That does not always mean the physical unit matches the papers exactly. Release verification uses photos to check whether the correct machine is being collected, whether the marks match the container seal record, and whether anything has been tampered with while waiting at the terminal or bonded store.
This is especially useful where there are multiple units of similar size on one consignment. A fleet buyer may import five compact loaders, or an automotive workshop may bring in several workshop lifts and compressors in the same shipment. If the photos are labelled properly, the team can match each unit to its invoice line, packing list and customs entry without wasting time.
- Match each photo set to the job number or bill of entry reference
- Record the date, time and location of each inspection
- Note container number, trailer number or depot bay where relevant
- Keep one clear image of the seal before opening
- Keep one clear image of the machine immediately on discharge
That level of discipline may sound small, but it saves trouble when a port release is done quickly and everyone is under pressure. One missing serial number shot can mean a delay while someone drives back to confirm the unit, and that costs both time and money.
Durban humidity, inland dust and site conditions all leave marks
South African conditions are hard on machinery. In Durban, salt air and humidity can leave surface corrosion on bare steel, electrical terminals and fasteners. In Johannesburg, dust and road grime can cover leak points before anyone notices them. On construction sites and agricultural yards, mud can hide cracks, missing guards and worn hoses.
That is why inspection photos should not be limited to import arrival only. If a machine is going into bonded storage, sit it on a clean surface first and photograph it again. If it is being collected from a container depot after a weekend delay, take another set before the truck leaves. If it is offloaded at a client site in a load-shedding window with limited lighting, use a bright light source and document the machine before commissioning starts.
We often see value in a local example like this: a used excavator lands through Durban harbour, is moved to Umbilo for clearing documents, then waits for an inland transporter to Johannesburg. By the time it reaches City Deep, the battery cover has shifted and a side panel is scuffed. If the handover photos from Durban show the panel intact, the issue can be traced to transit. If they do not, everybody argues. That is the difference a simple photo record makes.
A practical photo checklist for importers and fleet managers
Before a machine changes hands, build a routine the whole team can follow. Keep it simple enough that drivers, yard staff and site supervisors use it the same way every time. Once the habit is in place, inspection photos become part of normal receiving practice, not an afterthought.
- Assign one person to take the photos and save them immediately
- Use the same order on every inspection so nothing gets missed
- Store images in one folder per shipment or asset
- Add short notes on damage, missing parts or seal numbers
- Send the set to clearing, transport and client services on the same day
- Back up the file before the unit moves again
Also keep the language plain. A note saying “right rear guard bent inward by 40 mm” is far more useful than “minor issue on side”. If a claim is needed later, exact wording and clear visuals work together. Good photos do not need fancy equipment, just attention, timing and a consistent method.
Clear photos save time, money and arguments
Inspection photos matter because machinery logistics is not only about moving heavy equipment from one place to another. It is also about proving what was handed over, what was received, and what changed in between. In clearing, shipping, inland transport and site offloading, that proof can prevent delays, support claims and protect everyone involved.
For businesses importing into Durban, Johannesburg or Cape Town, a disciplined photo record is one of the cheapest forms of risk control available. It helps the client, helps the transporter and helps the clearing team close the file with less back-and-forth. When the cargo is valuable and the deadlines are tight, a few sharp photos can save a lot of Rand.